Gardening tips

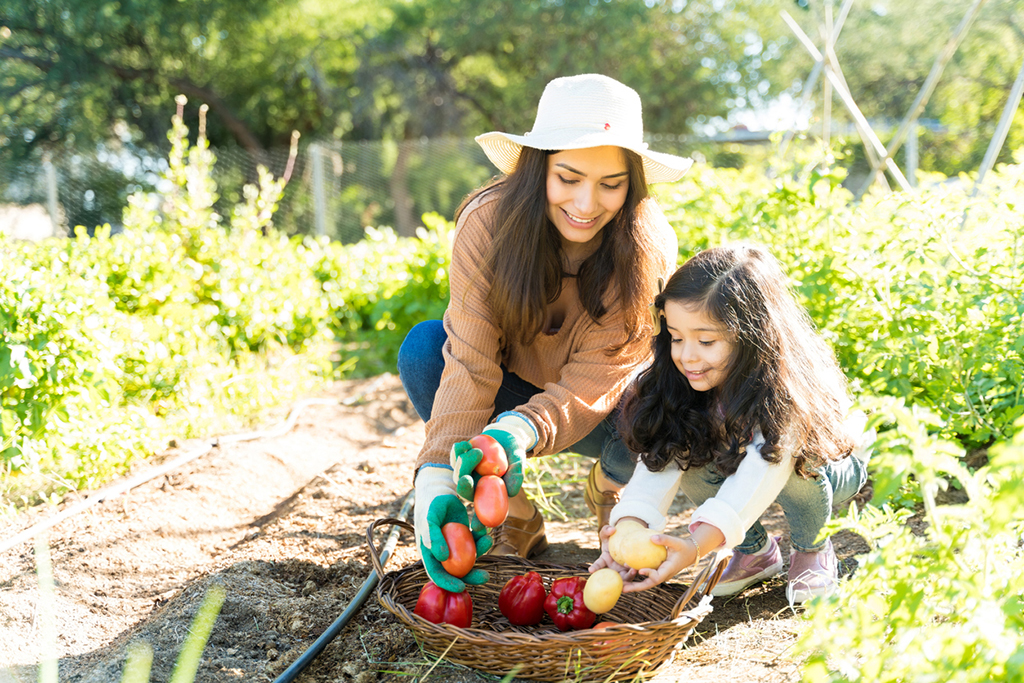
Image of mother and daughter gardening

Right now is a great time to start a garden for the first time or the fiftieth time, and one of the great things about gardening is that there is that it can be done at any level by anyone from a novice with a few plants to a master gardener with multiple beds. Gardening is a perpetual experiment, and every garden is a work in progress. Here are a few tips to get you started or get you going again.

Before you plant anything, consider your soil, your hardiness zone, and the amount of sun available. Your first step is to decide where to plant. Ideally, you want a site that receives 6 to 8 hours of sunshine daily, though there are some perennial plants that will happily grow with less. If possible, avoid a spot away from heavy winds if you plan to plant tender annuals whether they are vegetables or flowers, though once they are established, most plants are quite wind tolerant. You also need to decide how public or private your garden will be to the eyes of others. Are you looking for a show of floral color, or focusing on food only, or are you considering a mix?

Be sure your soil drains rather than puddles (you don’t want to drown your plants), but you also don’t want soil that has too much sand or gravel that it drains too quickly and leaves your plants susceptible to drought (UConnHome and Garden Education Center). If you are concerned about your soil, the best thing to do is have it tested. Soil tests are not expensive and will provide you with advice on how to amend your soil if necessary so you can be sure your efforts bear fruit (UConnHome and Garden Education Center).

Your hardiness zone is also something to consider if you are planting perennials. Unfortunately, garden centers will often sell plants that are not appropriate for a local hardiness zone, so it is important to be aware of your zone before purchasing a perennial that you are hoping to maintain for more than one year. (See link below with a map for hardiness zones in Connecticut.) 

To get the most of your vegetable plants, you want to have them in the ground as soon as possible. See the link below from Urban Farmer to help guide you through the timing of getting your plants in the ground. Wondering what to start with? The Old Farmer’s Almanac recommends lettuce, green beans, peppers, tomatoes, carrots, peas, and a few other easy vegetables for someone looking to get started. The Almanac also reminds newbies to start small with the adage “It’s better to be proud of a small garden than frustrated by a big one.” 

Utilize your resources and remember that gardening is a never-ending experiment. Most gardeners LOVE to discuss their successes and failures, and they are usually the best resources for you to learn what plants do well in your area and what to avoid. 

So what are you waiting for? Get out there and get growing! 

Our staff at Waitte’s Insurance Agency wish you a fruitful spring. Give us a call when you are ready to discuss your unique insurance needs.

Connecticut USDA Hardiness Zone Map

UConn Home and Garden Education Center

The Old Farmer's Almanac "Vegetable Gardening for Beginners"

Urban Farmer "Connecticut Vegetable Planting Calendar"

Get Ready for Camping!

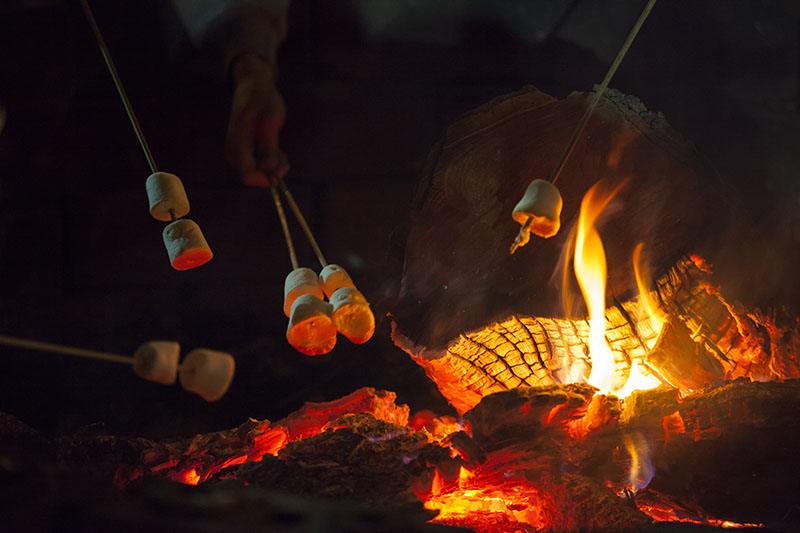
Marshmallows over a campfire

This past year has brought many of us a new appreciation for the simple things in life, including time spent by a campfire with people we care about. Along with rediscovering nature, many of us are also revisiting some favorite childhood memories including making and eating s’mores. Whether you spent your childhood camping every weekend or the experience is totally new, here are some campfire snack tips to help you savor the great outdoors.

Discover (or rediscover) basic s’mores. Prepare a graham cracker and chocolate by breaking the large, rectangular cracker into two squares and placing your chocolate squares (break them so you have about the same surface area as your cracker) on a plate so it’s ready to go when your marshmallow is done. 

Surprisingly, there actually is more than one way to toast a marshmallow. While it’s tempting to get started as soon as the fire is lit and the flames are high, it is more effective to hold the marshmallow on the end of a stick over the embers of a dying fire. This will allow the sugar to caramelize, and you will be less likely to end up with a marshmallow that is charred on the outside and underdone on the inside. Once your marshmallow is cooked to your liking, squeeze it between the two pieces of cracker and slide the marshmallow off the stick.

When you are ready for a new treat, try replacing the chocolate in your s’mores with Nutella, Reese's peanut butter cups, caramel sauce, crushed candy, or jam (“6 Over the Top S’mores Ideas''). You could also replace the graham cracker with your favorite cookies.

If s’mores aren’t your thing, try popping popcorn, or making baked apples or hobo pies. Hobo pies (also known as pudgy pies, mountain pies, or toasties) are made with a cast iron toasting tool you can purchase at most camping stores and simply require two pieces of buttered bread and your filling of choice such as jam, fruit with cream cheese, peanut butter with chocolate, mini marshmallows with chocolate, just chocolate, etc. The possibilities are endless! (“10 Camping Desserts for People Who Don’t LIke S’mores”).

Our staff at Waitte’s Insurance Agency wish you a season filled with fun food and adventure. Give us a call when you are ready to discuss your unique insurance needs. 

"Campfire S'mores"
"6 Over the Top S'mores Ideas for Your Next Camping Trip"
"10 Camping Desserts for People Who Don't Like S'mores"

Food Safety for Easter

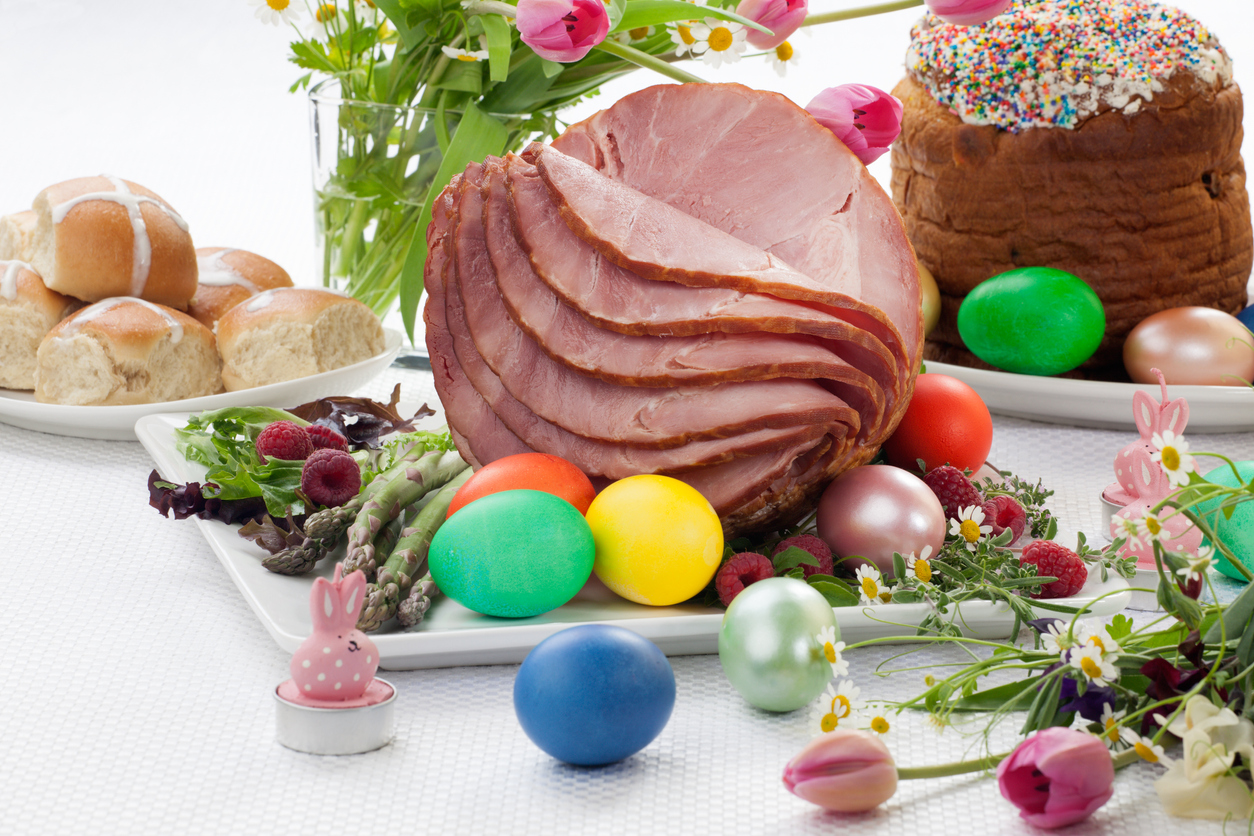
Honey Sliced Ham For Easter

Dyeing eggs and egg hunts are two of the most popular Easter traditions for children. As we get older, the allure of egg decorating often lingers such that we branch out beyond the tablets and vinegar to fancy up our eggs with paint, silk tie designs, shaving cream, natural food dyes like beets, and berries, or other crafty methods. Since opportunities for food-related illness are as plentiful as design options, we have a few tips to pass along to help keep your holiday as bright and fun as your decorated eggs.

Tips for Handling Eggs:

  • Inspect your eggs before buying to be sure they are clean and crack-free, as bacteria can enter an egg through a crack (University of Nebraska).
  • Store your eggs in the carton in the body of the refrigerator rather than in the door. The door is the warmest part of the fridge, and if frequently opened may not maintain a cool enough temperature to keep eggs safe. 
  • Thoroughly wash and rinse hands before handling eggs for cooking or dyeing.
  • Thoroughly cook eggs until both the yolk and white are firm to kill Salmonella and other harmful bacteria (Foodsafety.gov).
  • When preparing for a hunt, avoid hiding eggs anywhere they could “come into contact with pets, wild animals, birds, reptiles, insects, or lawn chemicals” (University of Nebraska).
  • Eat eggs or return them to the refrigerator within two hours as long as the shell is intact. Cracked eggs should be discarded, and saved eggs should be eaten within one week (University of Nebraska.)

Though the egg may be the focal point of the fun, it is less likely to be the focal point of the meal. The following are some tips for safely preparing popular Easter meats:

  • Pre-cooked ham that is vacuum packaged or canned from a federally inspected plant may be eaten without cooking or maybe warmed to an internal temperature of 145° F (Foodsafety.gov).
  • Uncooked ham or ham packaged in a plant that is not federally inspected must be cooked to a minimum internal temperature of 145° F (Foodsafety.gov).
  • If you are unsure whether or not your ham is pre-cooked, look at the label. “Ham that is not ready-to-eat but has the appearance of ready-to-eat products will bear a statement on the label indicating the product needs cooking” (Foodsafety.gov).
  • If lamb is your tradition, you will still look for an internal temperature of 145° F regardless of the cut (University of Oklahoma”).
  • The US Department of Agriculture recommends an internal temperature of 145° F for various cuts of beef including roasts and steak, while ground beef (and any other ground meat) should be at least 160° F. 
  • Chicken and other poultry should be brought to an internal temperature of 165° F (US Department of Agriculture).

Whatever your Easter plans may be, our staff at Waitte’s Insurance Agency wish you a happy and healthy spring holiday! Stop by or give us a call when you are ready to discuss your unique insurance needs. 

"Egg Handling and Safety Tips" University of Nebraska Lincoln

"'Egg'cellent Food Safety Tips" University of Oklahoma

Foodsafety.gov

US Department of Agriculture

Skip to content